Hello fellow Data Enthusiasts and welcome to my Blog,
today we’re checking out how to ingest data with Azure Synapse Notebooks.
But lets start with the basics. Our target architecture is a medallion lakehouse architecture. So we create a container for each layer in our storage account.

If you don’t have a Synapse workspace please check my post how to create one. Afterwards we need to create a Spark Cluster in our Synapse Workspace, which can be done within the Synapse Workspace.

Clusters are sized in Tshirt measurements (S, M, L etc.). Since S is already quite big it will probably be enough for the most tables. Since these Clusters are payed by use it could be reasonable to create different clusters for different tables. E.g. for Dimensions Small and for Facts Medium.
When the cluster is created, it’s possible install packages on the Spark clusters via the management console in the Synaspe workspace.
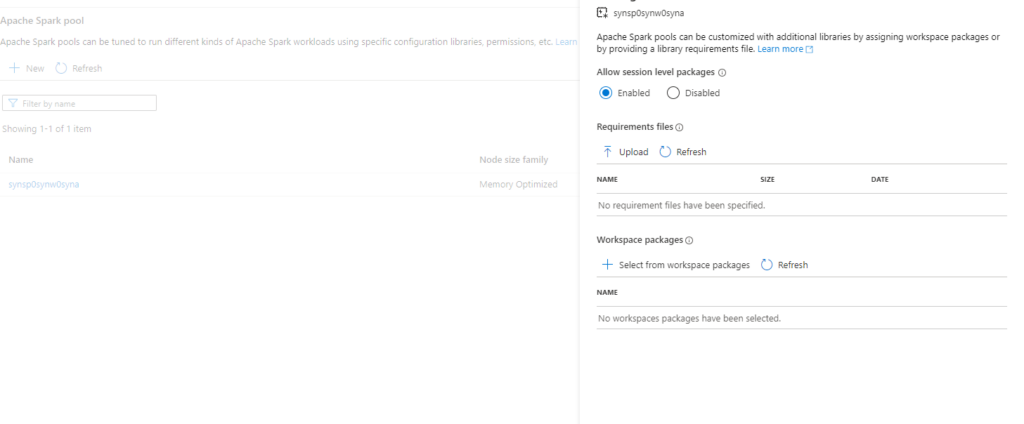
Packages that are used in several different clusters can be added to the workspace via the Azure Portal.

This allows us to connect to any API thats available in python or via python libraries.
Since we’re trying to copy data from an azure storage we don’t any additional libraries.
In this usecase only our system assigened managed identity has access to the storage. So in order to test and develop our notebook we need to configure to use this one for authentication and context. This can be done within the notebook if you choose the gear in the top right corner and then enable the ‘Run as managed identity’- option.


Mountpoints vs Path
Usually I prefer to use mountpoints within spark, since this is the easiest solution to work with relative paths but on synapse there is a limitation, that its not possible to mount a whole container.


Even if you create it with a subfolder there still is another issue, where the mount command in Synapse doesn’t allow to use linked services with parameters. But since my earlier post, we all know that parameters are the best.
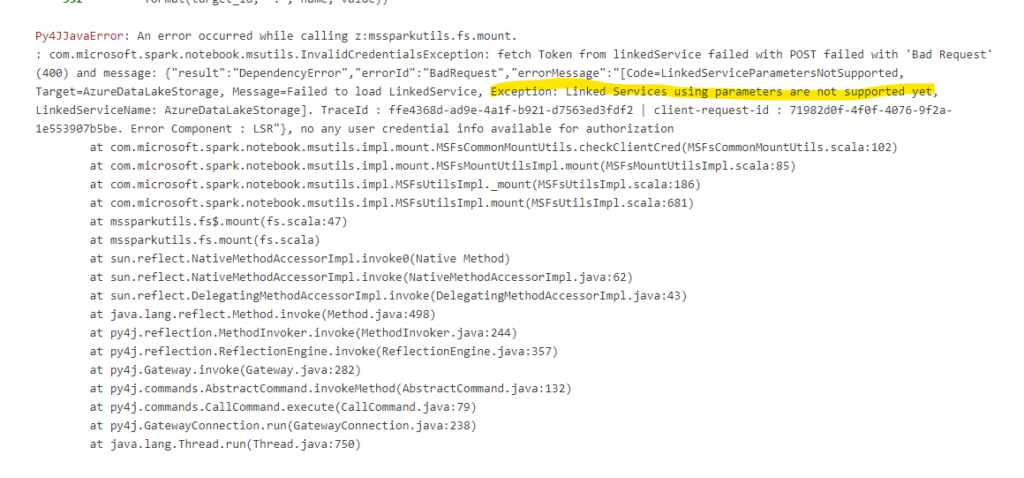
So Synapse is the exeption from the rule of thumb to use mountpoints. Instead I usually create a Setup Notebook which gets the connection Information from the keyvault, the same connection we’ve used in our dynamic linked service and write them into different variables.

Now every Notebook that is executed now first calls the Setup Notebook and then has these variables available.
We can now create a Notebook for each source system and replicate the data into our bronce layer.
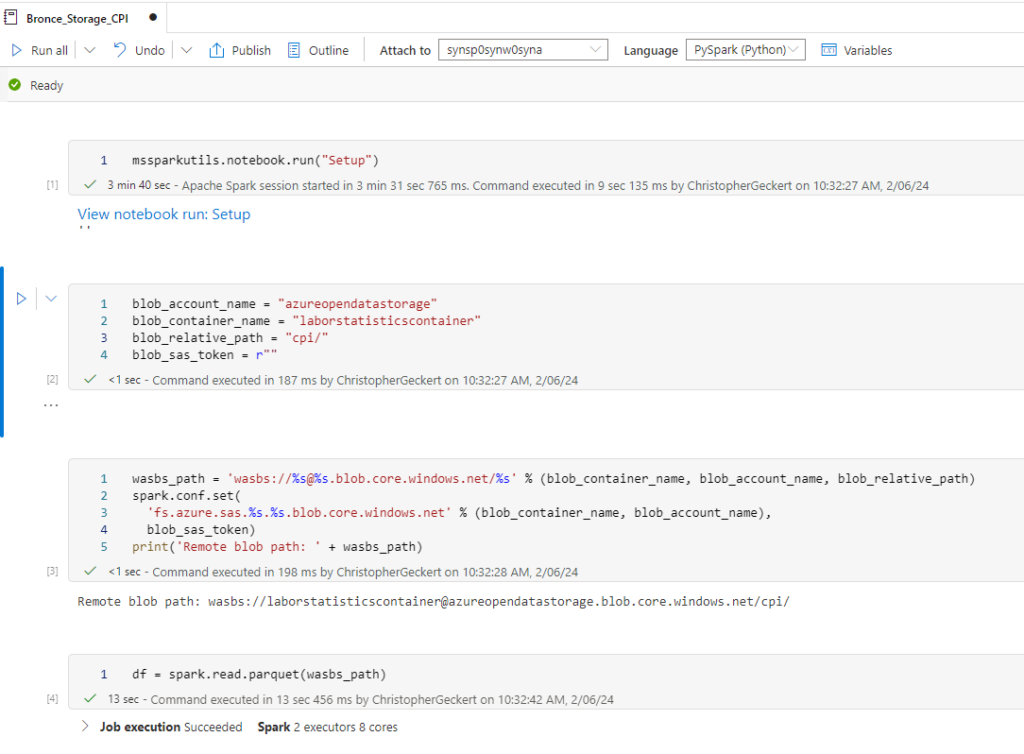
Since we want to analyse the US Labor Data we now can connect to the Consumer Price Index Data provided by Microsoft. Afterwards we can read the data into a dataframe and write it as parquet file into our own datalake. So the whole Notebook looks something like this.
I hope this post gave you an short introduction, how you could replicate data into your environment.


